Troubleshooting your photography – Focus part 2
Welcome to part two of a new weekly series called Troubleshooting your Photography. This series is geared towards beginning and intermediate photographers, but old grizzled photographers (yours truly included) may also find useful tidbits in these musings. I’m publishing new articles each Tuesday. Are you new to photography and finding that people on social media are not liking your images as much as you expected them to? I view many online forums geared towards photography and see many common mistakes that can be easily resolved. Each week I will cover a specific topic in the hopes that these articles can help budding photographers today and in the future.
Today is part two focusing on… focus. Last week we talked about some of the common issues with focus in portrait photography and covered a subject near and dear to my heart – focus plane. This gave me a lot of trouble when I was getting started – here is a link to my previous article. This week, we will talk about some of the common mistakes and misconceptions related to focus when shooting landscape images. While much of this information is geared toward Landscape capture, the basic concepts are applicable to portrait and product photography as well.
Landscape
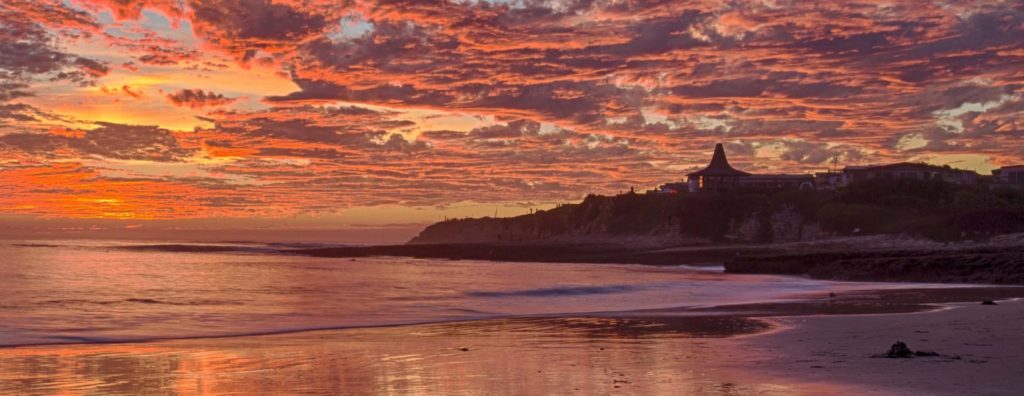
Landscape photography can be a complicated beast. Depending on your source of information, there are numerous criteria that define a successful landscape image, including, but certainly not limited to: Subject/location, light, composition, equipment used and camera settings. Since this article is geared towards focus, we will concentrate on the last criteria, camera settings. I have been asked to write an article on my Landscape capture workflow and methodology, where I will cover each of the above criteria in detail – expect that in the coming weeks.
To discuss focus, we need to take a step back and talk about aperture, because that, even more than a focus point will affect the overall sharpness of your image. Aperture, like the related focal plane was a big source of confusion for me when I was starting out in photography. Rather than going into a long boring diatribe about the science of aperture, lets just cover what you really need to know from a common -sense standpoint.
Understanding aperture

The aperture value you have access to when shooting is directly related to your camera’s lens, this is your “f” number and is a fraction (f/8 or f8 is equal to 1/8 – more on this later). In its simplest form, the aperture is the size of the hole created by the blades in your lens that will let light through to the sensor when taking a photo. The thing that always tripped me up is that f1.4 is larger than f22. Look at the chart above, imagine the shutter sits right behind the aperture blades, and opens and closes letting in the light that will hit the sensor which will collect the data for your image (unless you are using film in which case it will just expose the film with the image). As you can see from the size of the aperture, at f16 you will need a lot more light, for a proper exposure compared to f1.4. This light can come from a light source, like the sun or a strobe, or from leaving the shutter open longer allowing more light to hit the sensor (requiring stabilization like a tripod.). If you are looking for more ambient light in your Landscape (or portrait) image, it makes sense that a larger opening from a larger aperture would make your image brighter overall.
Besides ambient light, the size of the aperture also controls the depth of field, or focal plane (see my article here on focal plane) how much of your image will be in focus from your foreground to background. An aperture of f1.4 or f2.8 gives a blurry background and a smaller aperture like f11 or f16 will have most of your image in focus, depending on where in the frame you place your focus point.

So, how does this all relate to shooting a landscape with good focus? Here is an example: You want to shoot a sunset, and want the majority of your shot to be in focus so you choose a smaller aperture like f16. The shutter will need to remain open longer to let in enough light for a proper exposure, meaning you will need a tripod. What is the easiest way to take this shot? Switch out of Auto mode and into AV or Aperture Priority mode, this will allow you to set the Aperture you want, and the camera will adjust the rest (or just the shutter if you have your ISO set as well – and you should have it set to your lowest) for you. We have the technique nailed down, we are using a tripod and shooting in AV mode, lets move on.
Where to focus
If you have a clearly defined subject in your composition, like a tree or other object, focus on that. If I don’t have a clearly defined subject, I often focus on an object about 1/3 of the way up into my scene and choose a larger (f11 or f16) aperture. This will give me a lot of my foreground in focus all the way to the background. If you are shooting sunsets or later in the day, expect longer shutter speeds, up to 30 seconds is not uncommon. Sometimes, even using a small aperture I can’t get enough of the image in focus, so when I am shooting a landscape, I always employ the alternate focus method.
What if the basic method isn’t working?
Depending on the size of the landscape you are trying to capture, or if you want a very close foreground object in tack sharp focus as well as your background, one might have to use focus stacking. This is the process of focusing on an object close to you, then about halfway up into the scene and then the far background, the resulting images are combined in Photoshop to produce a focus stacked image. I won’t go into details of the process, rather I will direct you to YouTube, as there are a myriad of videos on focus stacking there depending on which version of Photoshop you are using.
For this method, put your camera on a tripod, and choose a single point or small clustered focus set, (consult your camera manual on moving your focus point.). Move the focus point to the bottom of your frame and take a shot, repeat this process for the middle and background portions of your image. I usually take three images, but depending on the complexity of the foreground and background I have often taken 20 or more shots to ensure all the areas from front to back are in focus.
I love to hear from my readers! Feel free to contact me.
http://www.tahquechi.com/
http://www.bodyscapes.photography/
http://www.blindtravels.com/
Instagram and Twitter: @nedskee