HOLGA PINHOLE Lens HPL-C
Let me preface this article by saying that this is not what most would consider a walk around lens. A pinhole lens is meant to be set on the ground or affixed to a tripod to gain suitable results. Expect to see 1 to 2 second exposure times at ISO 100 depending on the amount of sunlight. I would very much consider this an artsy lens, and ones reckless need for sharp images needs to be suspended when using this unit. Not scared off yet? good keep reading…
Earlier this year I ordered a HOLGA PINHOLE Lens HPL-C. I was endeavoring to sooth my newfound addiction to alternate photographic processes without needing to be in the darkroom. I was searching for a suitable solution that would work on a DSLR body but still give that classic pinhole look. I generally make my pinhole images with a converted Holga camera using 120 film. Before ordering this lens I had a lens cap laser drilled to pinhole specifications, but saw limited success with usable images.
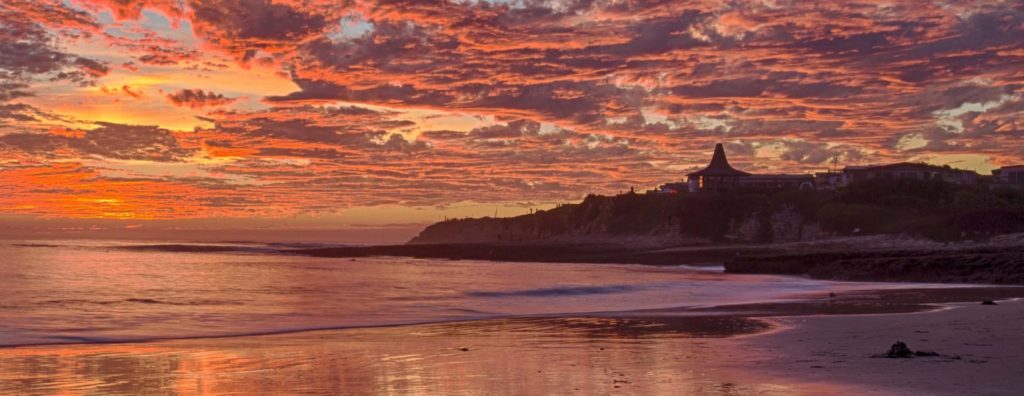
The HOLGA PINHOLE Lens HPL-C will run you about $20 and has worked well with the cameras I have tested on, which include Canon 5dmkIII, 7D, 350D and T3i. While the lens does work on full frame cameras like the 5d, images have a significant vignette. This is of course resolved with a crop of the image. Results tend to be soft and artsy rather than sharp. When making pinhole images with a film camera, one generally finds a suitable location to set the camera on for the exposure, as pinhole images work really well with items close to the lens opening. Landscapes and farther images tend to be more soft and dreamy looking. Many die-hard pinhole imaging enthusiasts embrace the idea of movement in their imagery, and even seek out locations where people are moving so that ghost images of the people are created as they venture in and out of the frame of the image. This can be seen in my top image “Ghost at the Lagoon”.
Don’t expect to be able to alter the aperture when this lens is attached to your camera, best results are to be had shooting in manual mode but shutter priority mode will also work. While you can use a light meter and calculate the exact exposure for your image, I prefer to find a nice flat location to set my camera and start at 1 second exposure time and adjust from there. While you can raise the iso, lots of noise can be introduced into an already soft and grainy shot (of course this depends on your cameras sensor.). Don’t be afraid to experiment with this lens, its a fun and interesting lens. Experiment with different angles and different distances to your subject. I have also seen examples of video shot with this little lens very closely reproducing the look of an 8mm camera. I will continue my quest for a better pinhole solution for my DSLR, but for now the Holga lens fits the bill nicely.